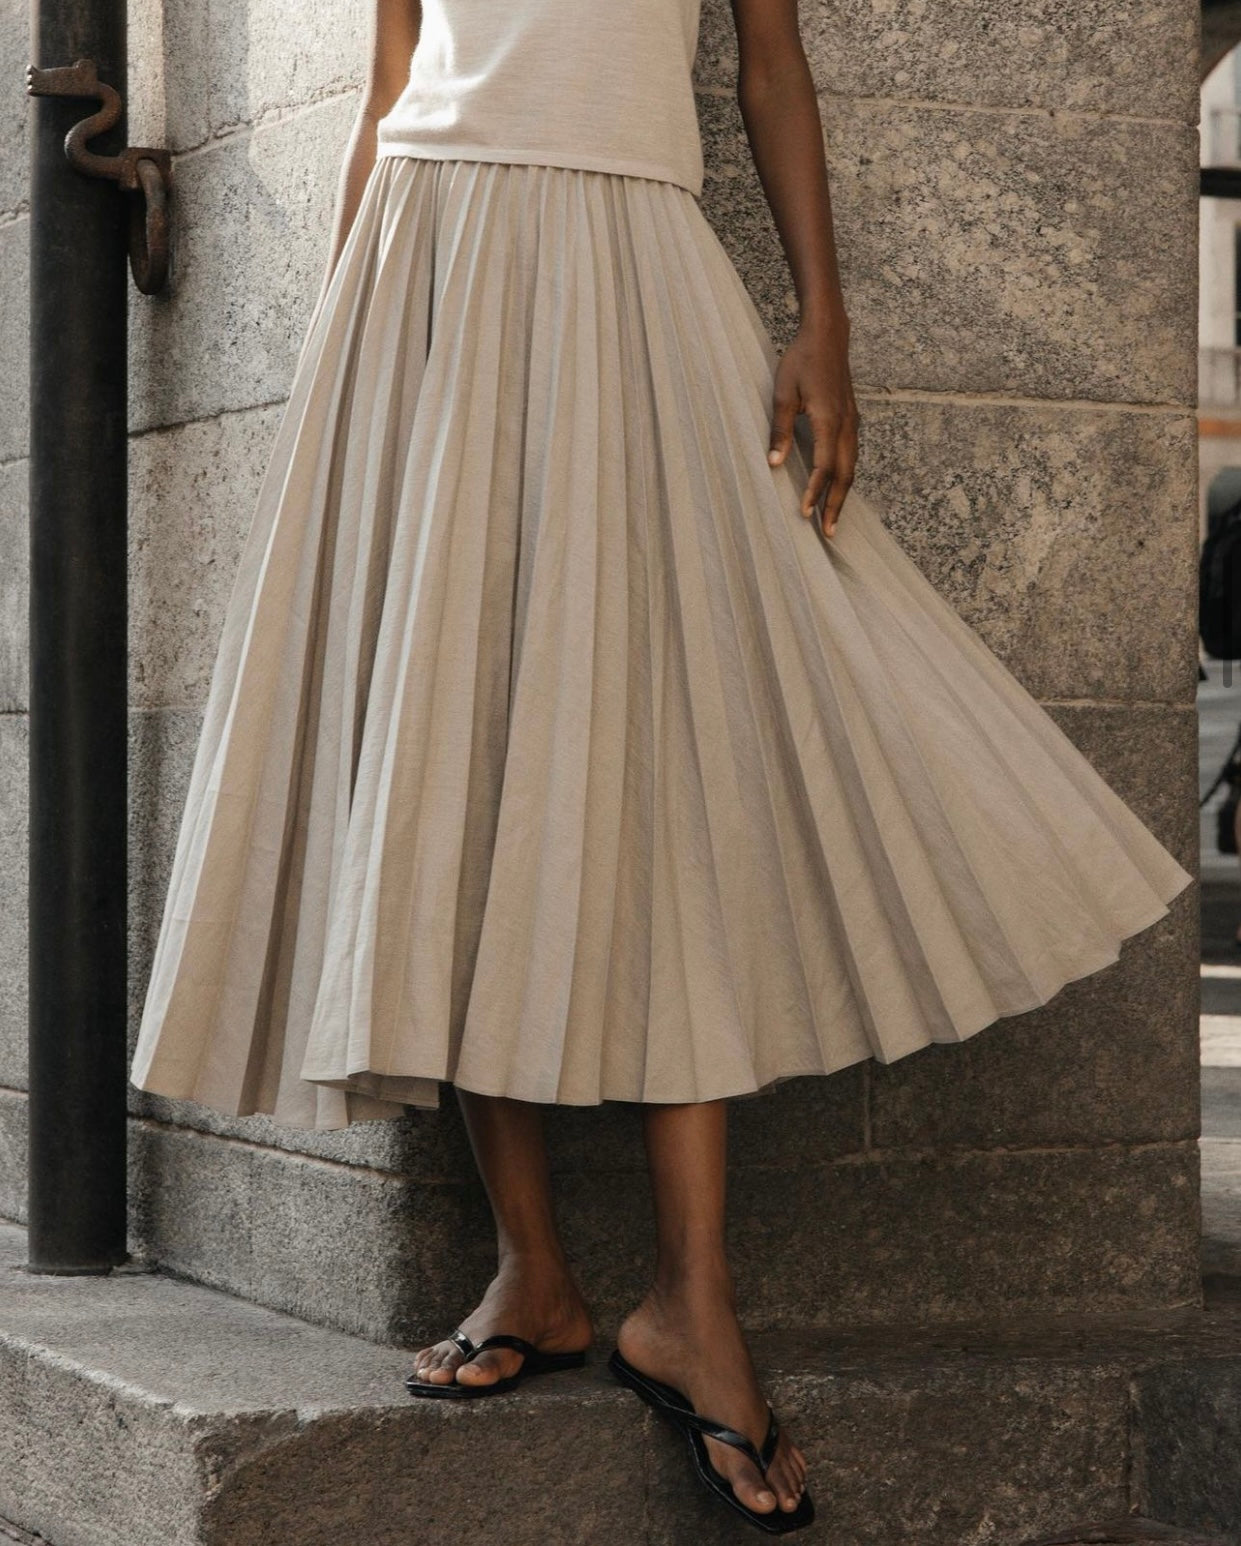
How to order A-line Side Pleating
A-line Side Pleating Gallery


Before reading this page, please read How To Order Custom Pleated Fabric.
Once you have decided to order a-line side pleating, follow the steps below to understand the additional steps necessary for calculating and preparing your order. The important considerations about a-line side pleating:
- It is pleated in panels. Usually the length of a mold is 4 yards, but it could vary depending on the style of the mold. Pleating is done in increments of 4 yards.
- The length of the pleat in most molds is 48in. wide. Some molds are available in 60in., 72in. or longer. Please contact us with any specific sizes you require.
- The measurements of the pleating are NOT the same along the entire pleat. The face of the pleat is smaller at the top of the panel and gradually increases in size towards the bottom of the panel.

Step 1. Pick your size and length required. The most common sizes are listed below. If you do not see the size or length you require, send us an email (info@internationalpleating.com) to discuss a custom mold.
| Pleat Code | Size |
Mold Dimensions |
| AL B18-B25mm R75 | 3/4in. to 1in. |
48in. x 4yards |
| AL B20-B30mm R90 | 3/4in. to 1 1/4in. |
48in. x 4yards |
| AL B25-B50mm R150 | 1in. to 2in. | 48in. x 4yards |
Step 2. Determine how much pleated fabric you need. The total fabric needed is based on the number of garments you are making or your pattern specifications. If you are making a skirt then please provide your waist & hip measurement and skirt length. If you do not have a pattern or tech specs we also provide Product Development Services.
Step 3. Calculate open yardage. Once you know how many pleated yards you need we can determine how much "open yardage" is required before pleating. Specific pleat styles have a specific "loss factor" or "loss ratio" which indicates the amount of fabric that will be used. In the case of aline pleats, the loss factor is unique to each mold. Some styles may be 3:1 and some maybe 4:1 or more.
Step 4. Choose your fabric quality. This is entirely based on your project needs. However, before choosing your fabric you should consider the following:
- The thinner the fabric, the smaller/finer the pleat size. Thicker fabrics will force you to use larger pleat sizes.
- The thinner/softer the fabric the more flowy it will be. The stiff fabrics have a tendency to get more stiff after pleating.
Step 5. Hemming. If you desire a crisp hem, it is usually easier to hem before the pleating is done. Our clients usually complete this step. However, we can provide this service if needed. This will add several days to your order depending on the quantity you require, the fabric you choose and the type of hem. Important hemming considerations:
- A thick hem could create problems or increase the size of your pleat style.
- If your seamstress stretches the hem during the sewing or pressing process, it could render your fabric useless.
- Thin hems like pearl edge are usually best for medium weight fabrics whereas thinner fabrics like chiffons could be baby hemmed.
Step 6. Direction of pleating. There are several options to choose from when pleating in panels. Pleating can be done parallel to the selvedge, perpendicular to the selvedge or along the bias. There are many variables that determine which is the most suitable way to proceed. There are too many to discuss in this page. However, usually better constructed garments are usually pleated parallel to the selvedge, and less expensive garments are pleated perpendicular to the selvedge. Each project is unique and if you are unfamiliar with this terminology, we recommend either working with a professional patternmaker or hiring our Product Development Services. For more information regarding this step please consult Chapter 8 of Pleating: Fundamentals for Fashion Design.
Step 7. Cutting and prepping your fabric panels. If you are working with a seamstress or a sample room, they should cut the fabric panels to the specs you require and hem the panels so they are ready for pleating. Please be sure the dimensions of your panels are not larger than our mold dimensions listed in Step 1, and the panels are a true rectangle and not warped due to incorrect cutting, hemming or pressing. If the prepping is incorrect it may render your fabric useless, or severely comprise the quality of your pleats. A-line pleating can be a more complex type of pleating for beginners. We recommend starting with straight side pleating until you are more comfortable working with pleating. If you do not have a professional sample maker you can hire our Product Development Services.